In order to 3D print, We offer several amazing designs in many different categories for you to readily print!
Did you know you can also download one of these files from our design library and add your own extra touches? In this blog we will show you a step by step example of exactly how you can achieve this!
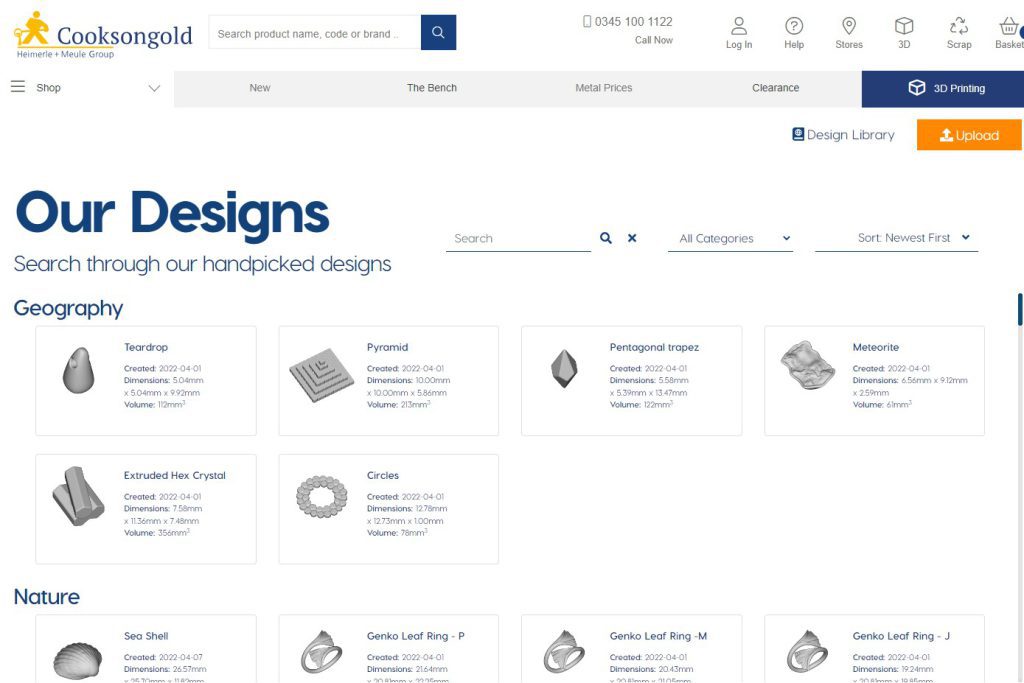
Start by going to the Cooksongold website of course and select the ‘3D Printing’ tab or simply click here. This will take you to our 3D printing homepage, and then select the design library.
First step: Browsing the designs we offer in our design library:
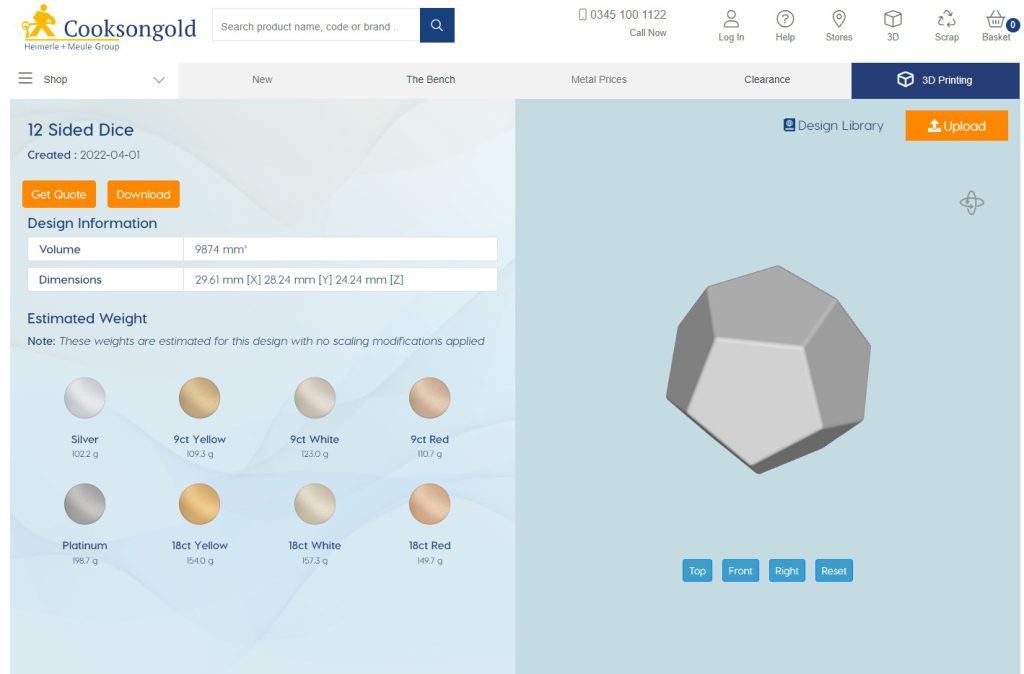
We chose the 12 Sided Dice and then clicked ‘Download’ on the left side. This will download the design as an STL file.
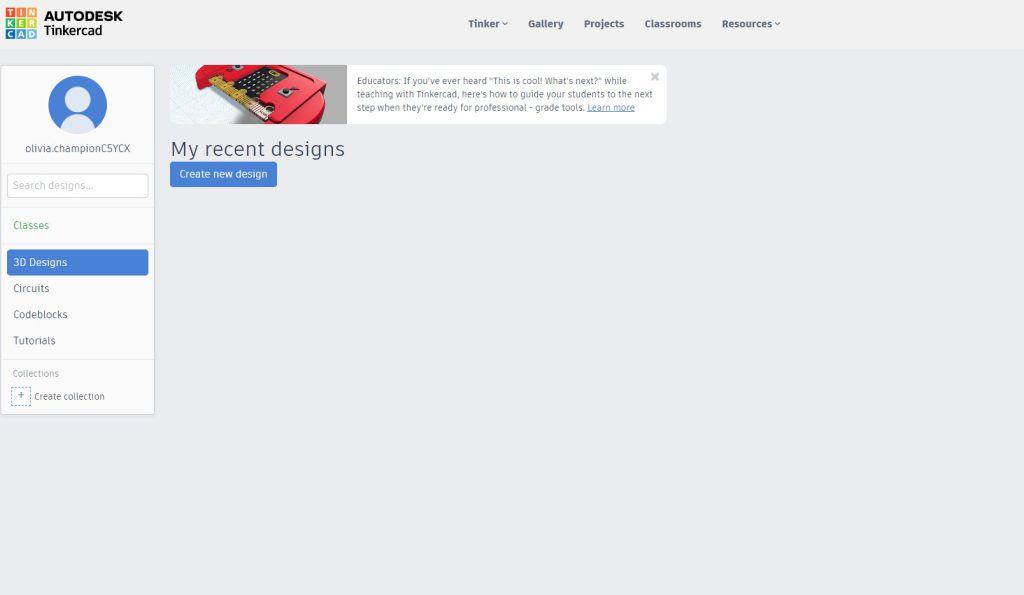
Create an account with TinkerCAD which is run by AUTODESK. This software is free and accessible from your browser. TinkerCAD has a great tutorial system for new users to the software.
Here select ‘Create new design’:
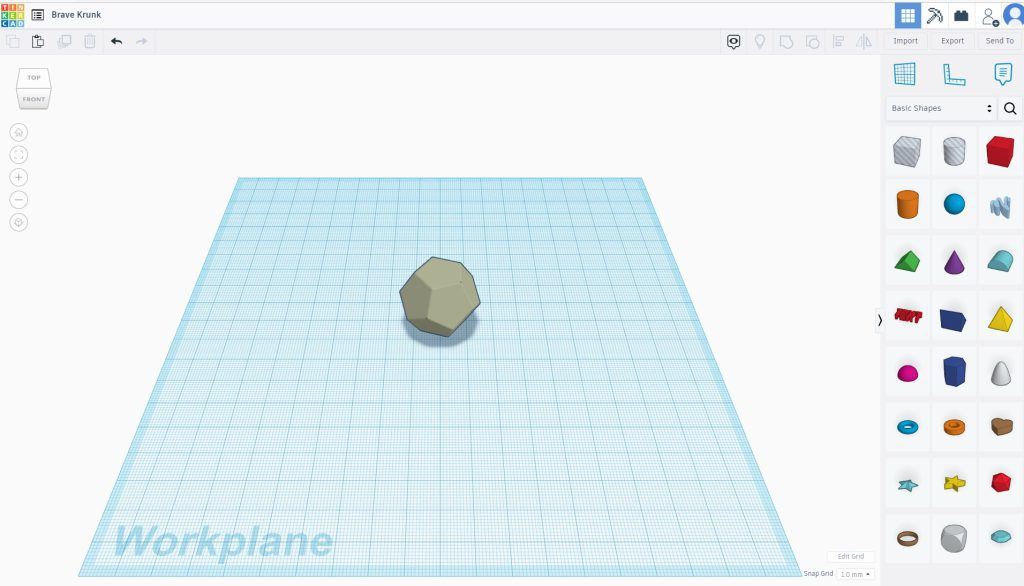
This will bring up the workspace for you to edit your file in. In the top right corner select Import:

Select choose file:
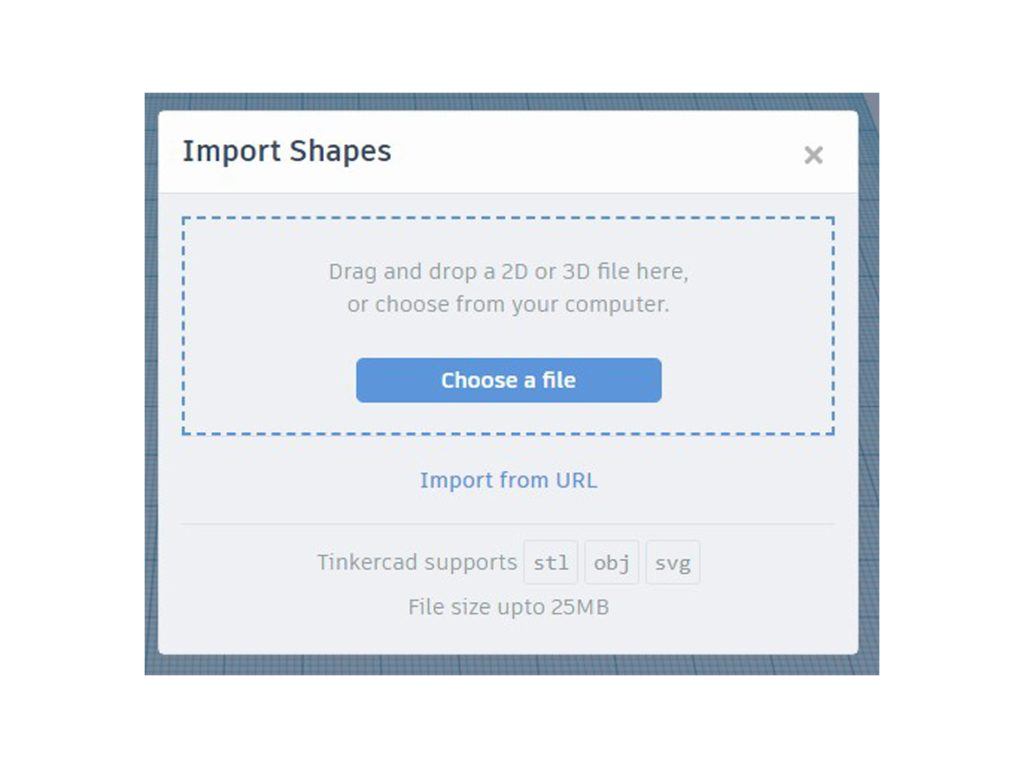
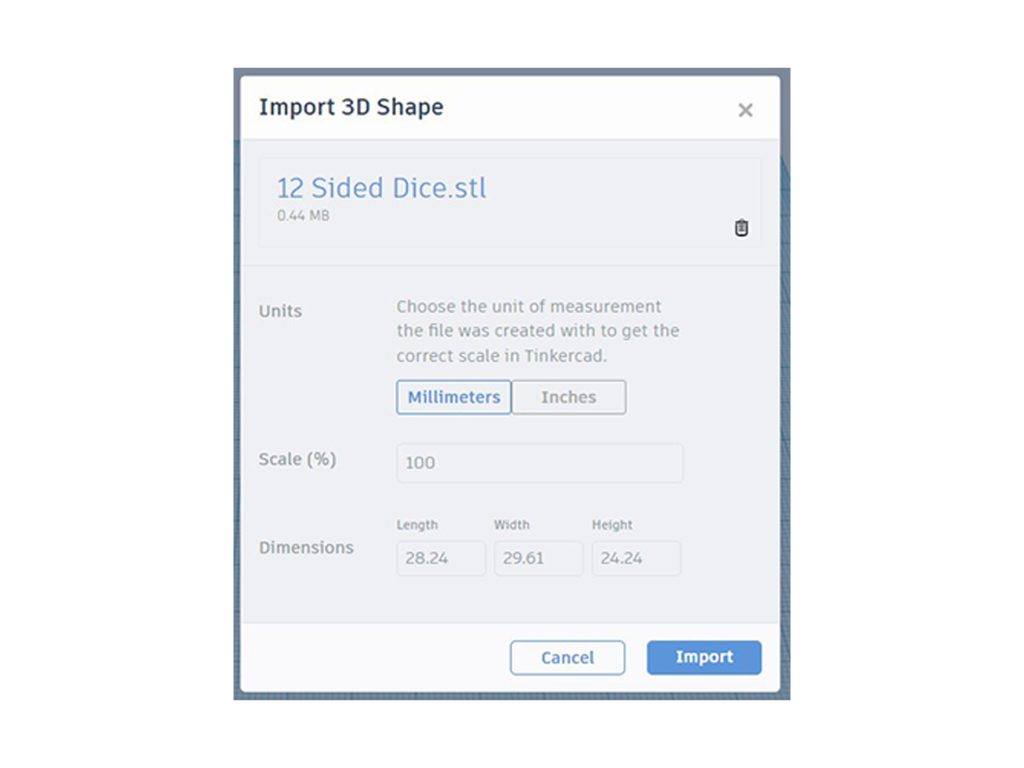
Choose your file, and select millimeters and then Import:
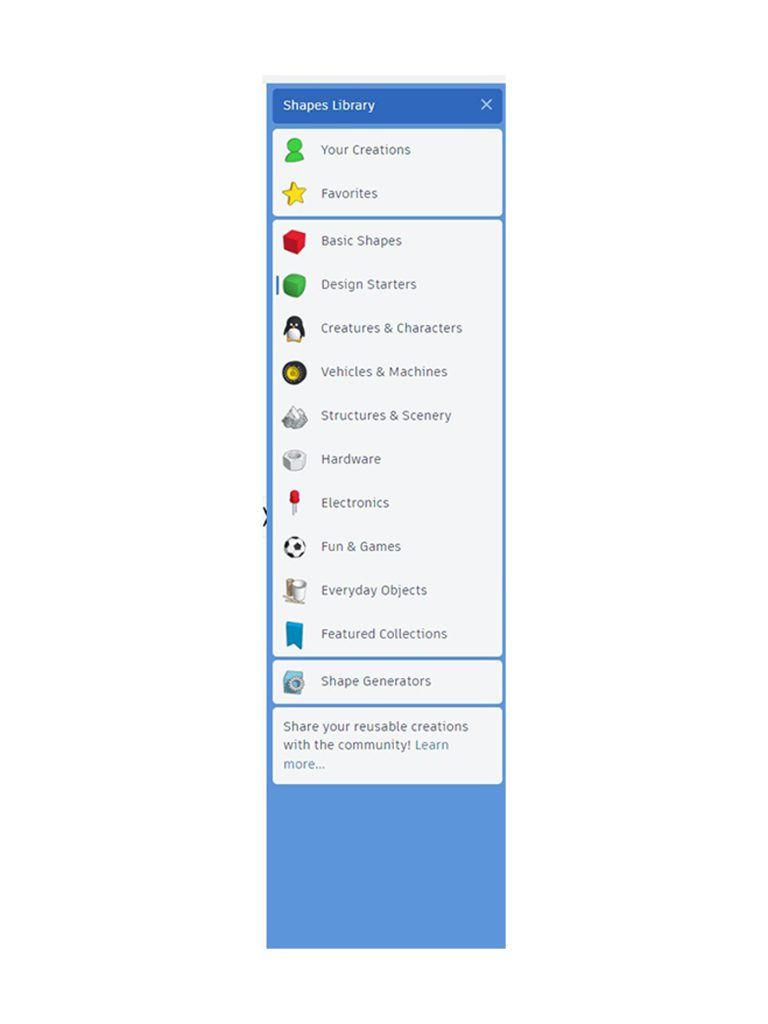
Then proceed to select basic shapes:
Select design starters:
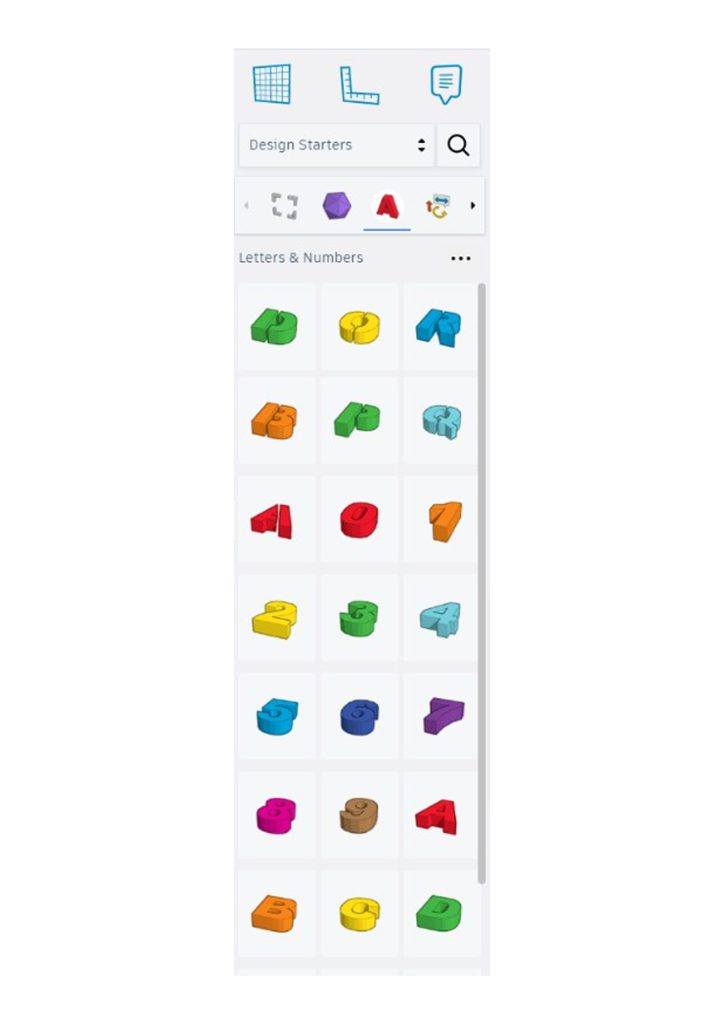
Then select letters and numbers:
Select Workplane tool in the top right and select the plane you would like to work on. We have selected the top side of the dice.
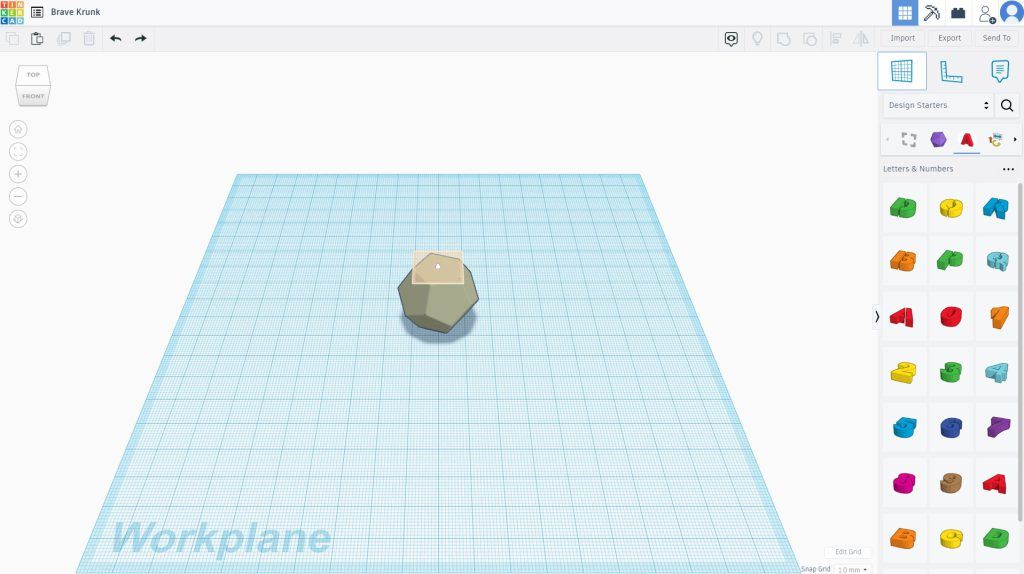
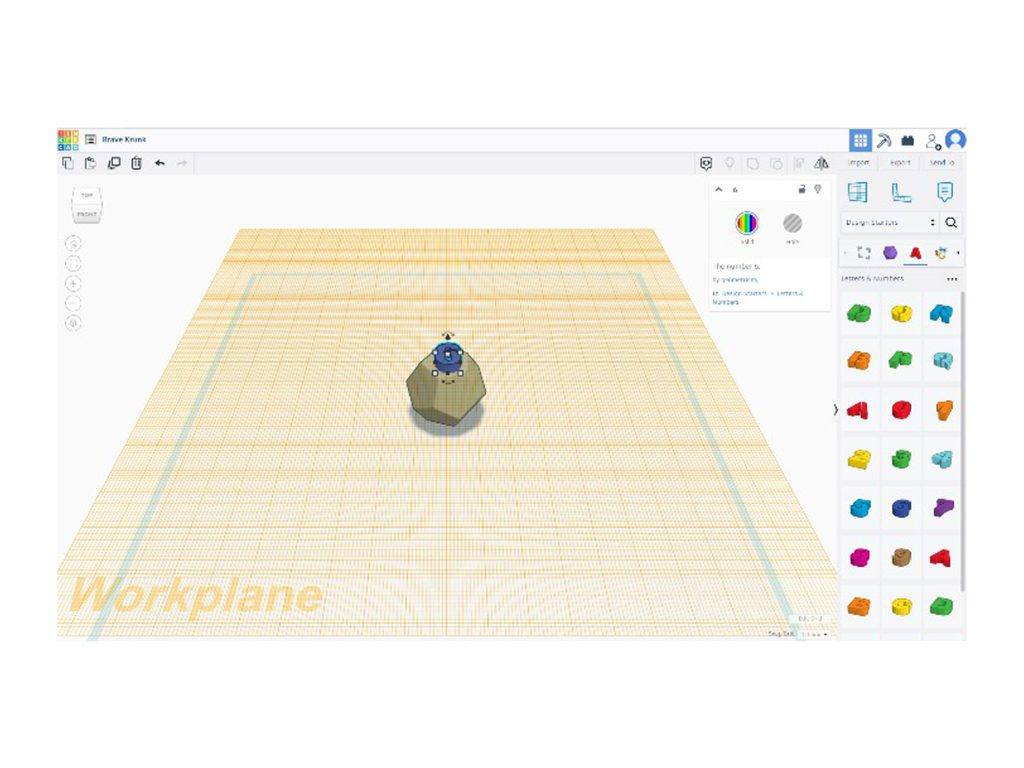
This places the workplane onto the face you would like to edit or add things too. Then drag the shape onto the piece from the side menu.
Use the rotation symbol to rotate the item to where you would like the shape.
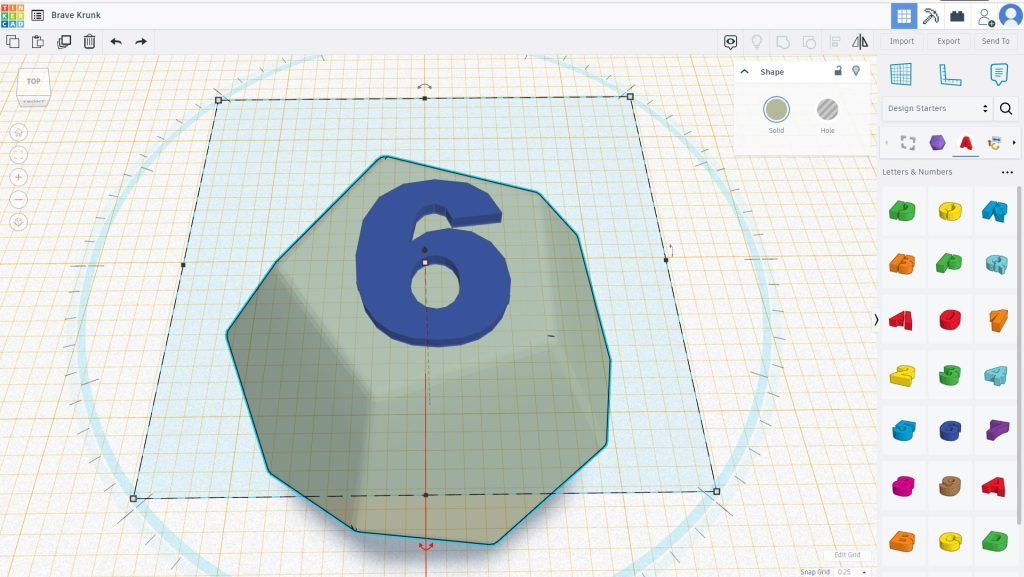
Change the snap grid to 0.25 to move and edit the shape in smaller increments. Use the black cone to move the shape up and down. Use the white square to adjust the space in size.

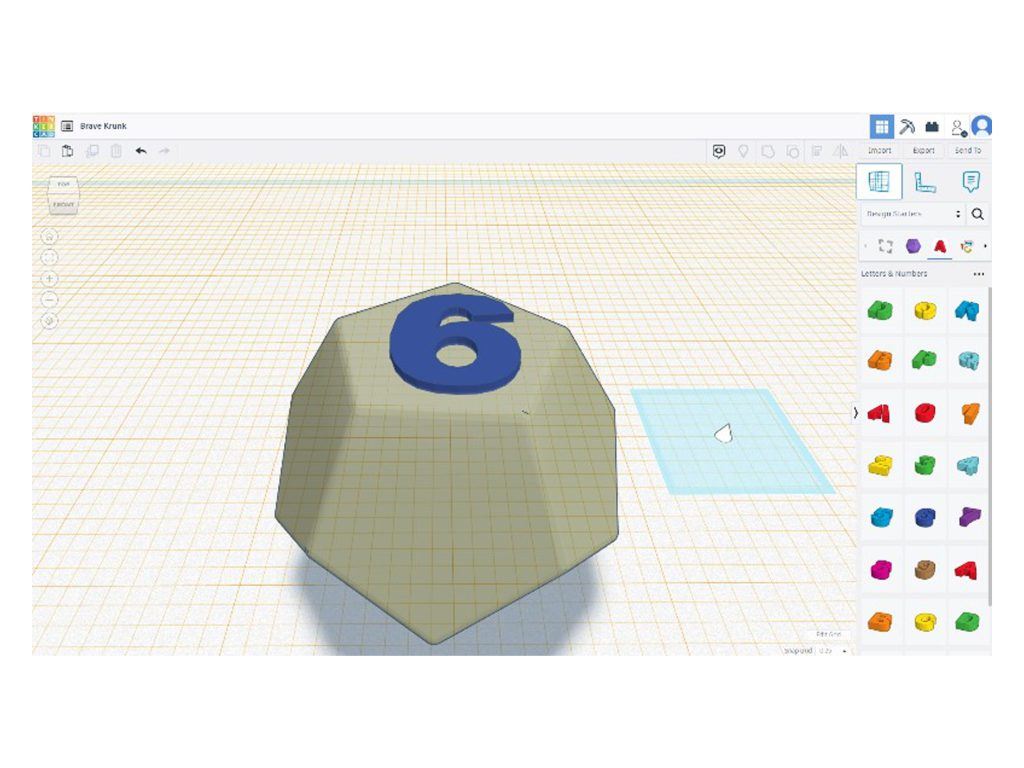
Select the Workplane tool again and select the ground. This will move the plane back to the original place.
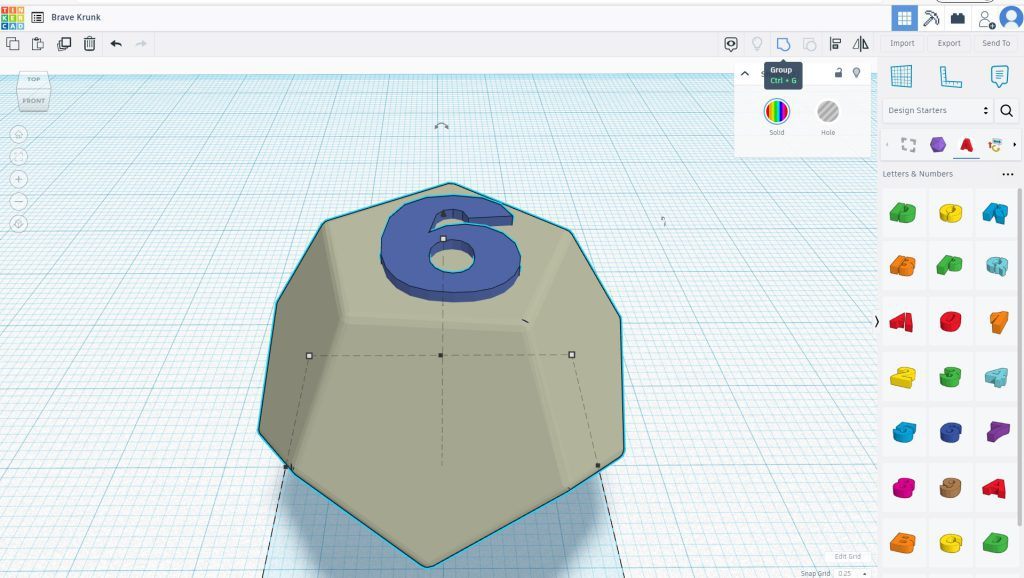
Select both items and select group to merge them into one item.
If you want to cut one of the shapes out of the other, you will need to select the shape that you want to subtract from the other and change this from Solid to Hole. If you now group the two items, this will take the shape out of the other:
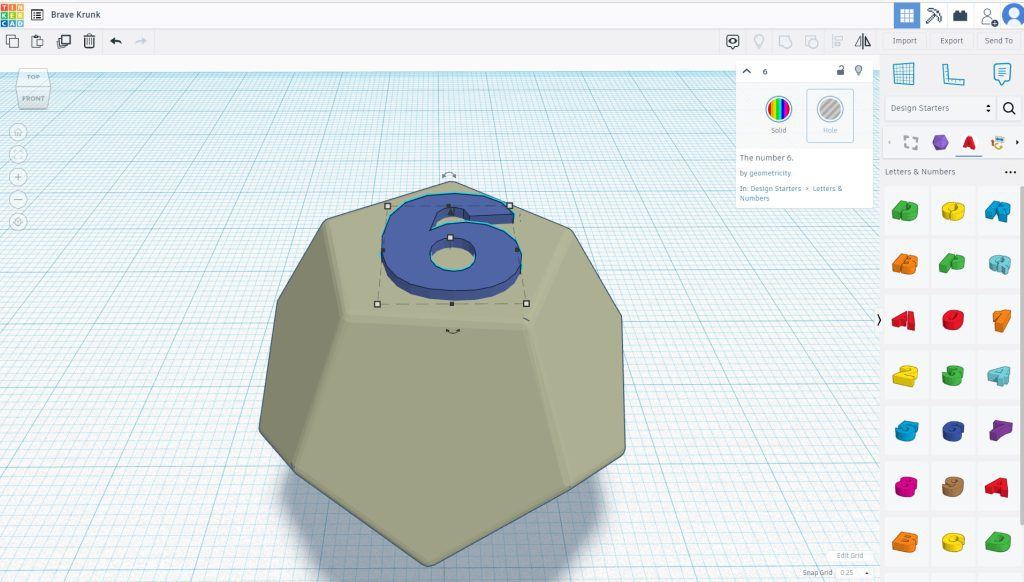
If you now group the two items, this will take the shape out of the other:
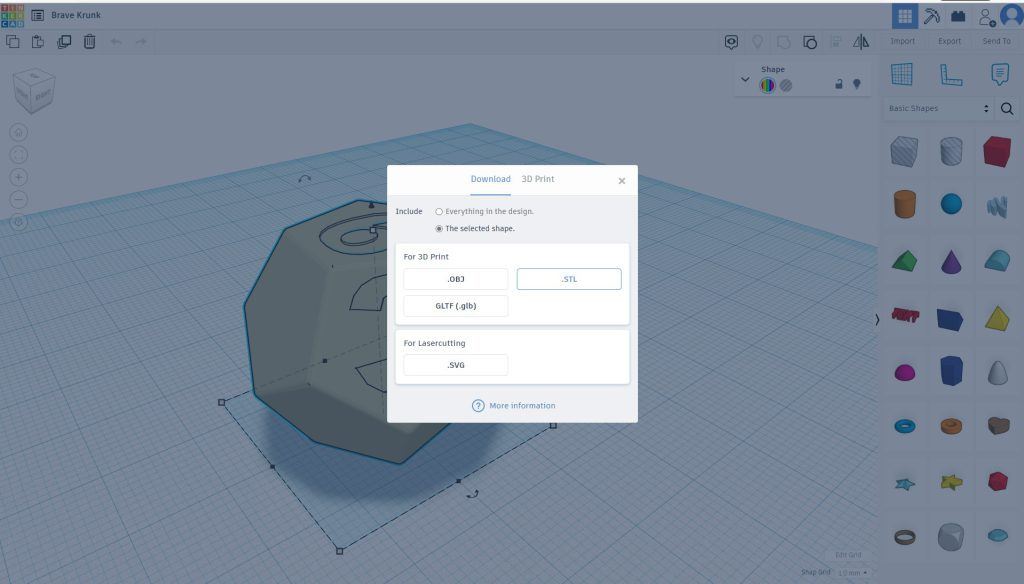
Select all the items you are wanting to save. In order to save your file, click export. ‘the selected shape’ and then select STL:
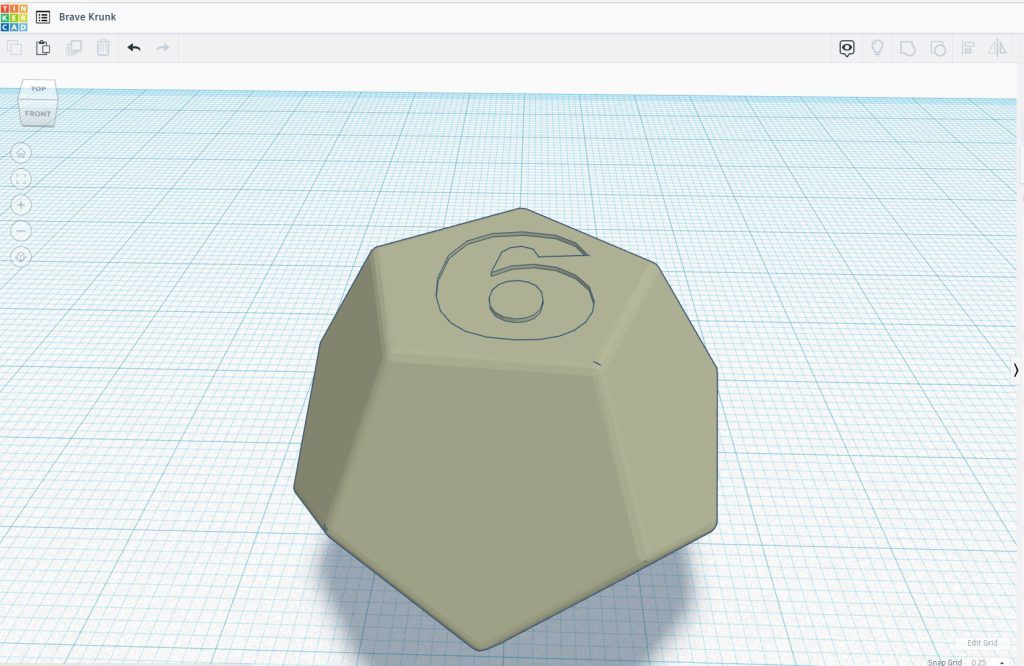
You now have your personalized design, made with your extra touch.